Custom Brand Configuration
Configuring Custom Enterprise Brands
This guide shows Enterprise customers how to fully customize the look and feel of the Mattr Workbench and deployed applications to align with specific brand guidelines.
White-Labeling the Platform
The Brands feature, available to enterprise customers, allows you to change the platform name, logos, and entire color scheme, which is essential for white-labeling and maintaining brand consistency across all deployments.
Create and Apply a Custom Brand
Access Brand Configuration: Navigate to the Enterprise Features section in the main navigation and select Brands.
Create a New Brand: Click the option to Create a Custom Brand.
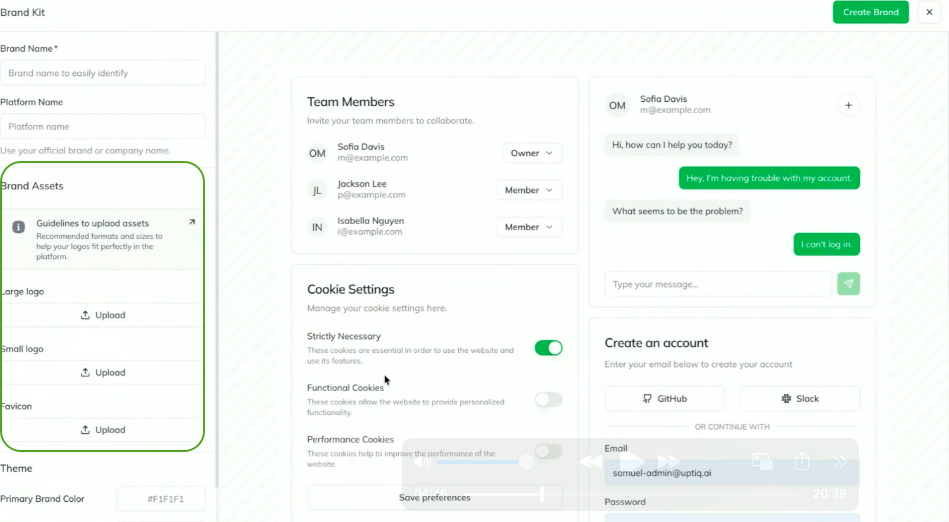
Define Core Identity:
Name: Give your custom brand a unique name (e.g., "Innovate AI Platform").
Platform Name: Specify the platform name you want displayed in the UI.
Upload Brand Assets: Upload your required visual assets:
Small Logo
Large Logo
Favicon
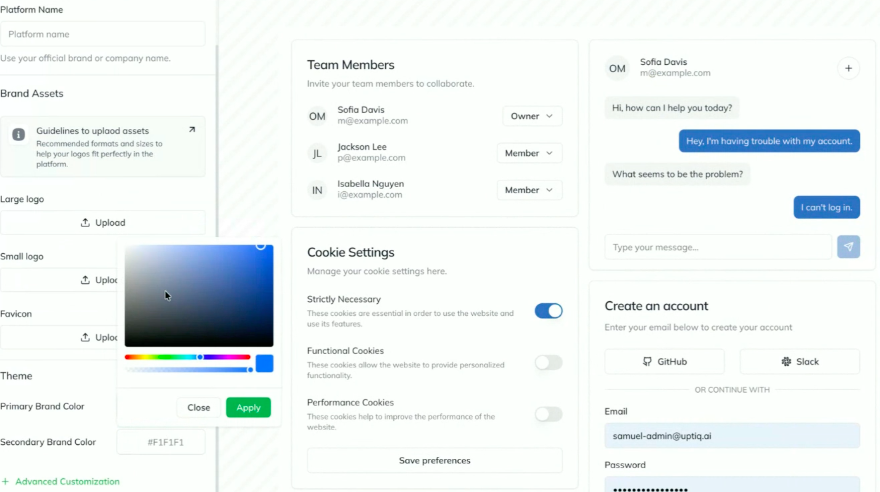
Configure Color Palette: Use the color configuration tool to define the core aesthetics:
Primary Brand Color: Set the main color for buttons, highlights, and primary actions.
Secondary Brand Color: Set the accent color.
Advanced Options: Access more granular color controls (e.g., sidebar foreground/background, accent colors) if needed.
Review in Real-Time: Observe the Preview panel on the right side of the screen. As you change colors, you will see the updates reflected immediately.
Save the Brand: Once satisfied with the preview, Create the Brand to save the configuration.
Apply the Brand: To activate the custom look, you must explicitly Apply the new brand from the configuration screen or the main Brands list.
Last updated